
You did everything right, or so you thought. You cleared the bed, rolled out the fabric, cut your holes, added mulch on top. And yet, three months later, the same stubborn weeds poke through like they never noticed the barrier was there. If you’re standing in your yard wondering why weed barrier fabric still allows weeds to grow after you followed every step, you’re not imagining it, and you’re definitely not alone. Most landscape fabric problems come from a handful of predictable, fixable issues—sneaky gaps at the seams or fabric too lightweight for the job. Seal the gaps or upgrade to a heavier fabric, and you’ll fix it for good.
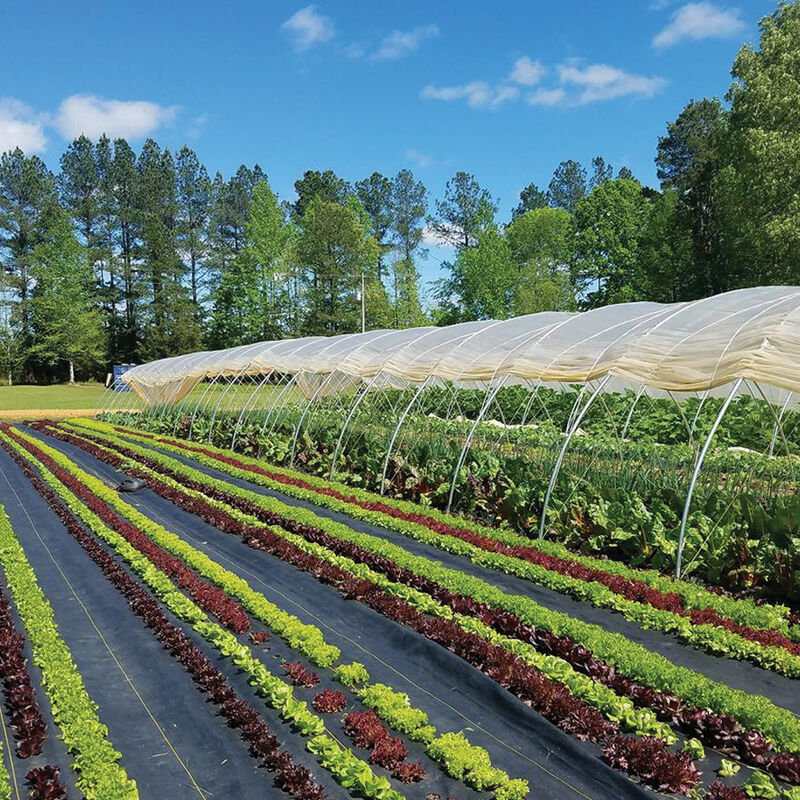
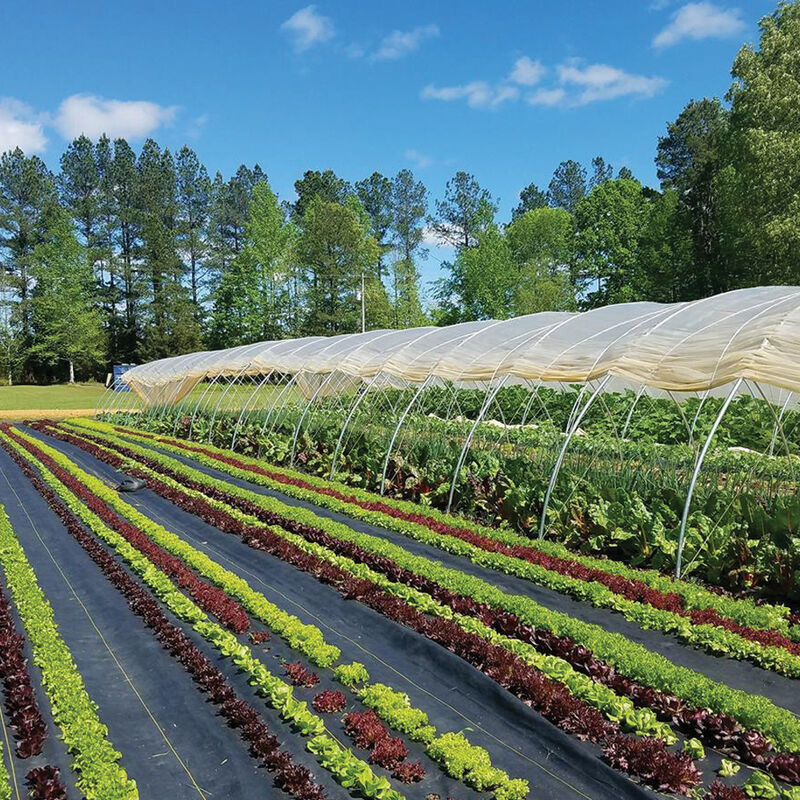
Weeds Growing On Top of the Fabric (The #1 Reason)
Those weeds probably never touched the soil underneath your fabric. They’re not punching through from below. They’re sprouting from a brand-new layer of dirt that built up on top of your barrier, right in the mulch you spread to hide it.
Wind-blown dust, fallen leaves, pollen, and rain-washed grit settle onto the fabric surface from day one. Buildup begins in the first season. Give it 2–3 years, and you’ll typically have 0.5 to 1 inch of organic debris sitting right on top. Warm, moist, nutrient-rich, and a welcome mat for seeds.
Seeds come from wind, birds, and nearby plants. Wind carries them in, birds deposit them along with droppings, and nearby plants shed seeds that land right on the surface.
None of these seeds need to reach the soil below. They germinate in that thin surface layer, then send roots downward, tangling into the fabric’s pores and seams. That’s why pulling these weeds often tears the fabric or leaves roots stubbornly woven into it—one of the more frustrating landscape fabric problems homeowners run into.
Mulch depth matters more than most people realize. Anything under 3 inches gives weed seeds an easier foothold. Bump it up to 4–5 inches, and germination on the surface drops significantly. It’s a simple fix, but skipping it is one of the most common weed barrier installation mistakes out there.
There’s a longer-term cost, too. Clogged pores reduce airflow and drainage, accelerating even more debris buildup. What started as a quick weekend project turns into a repeating cycle. Permeable weed barrier materials need real maintenance, not a one-time install and walk away.
Weeds Growing Through Gaps, Seams and Edges
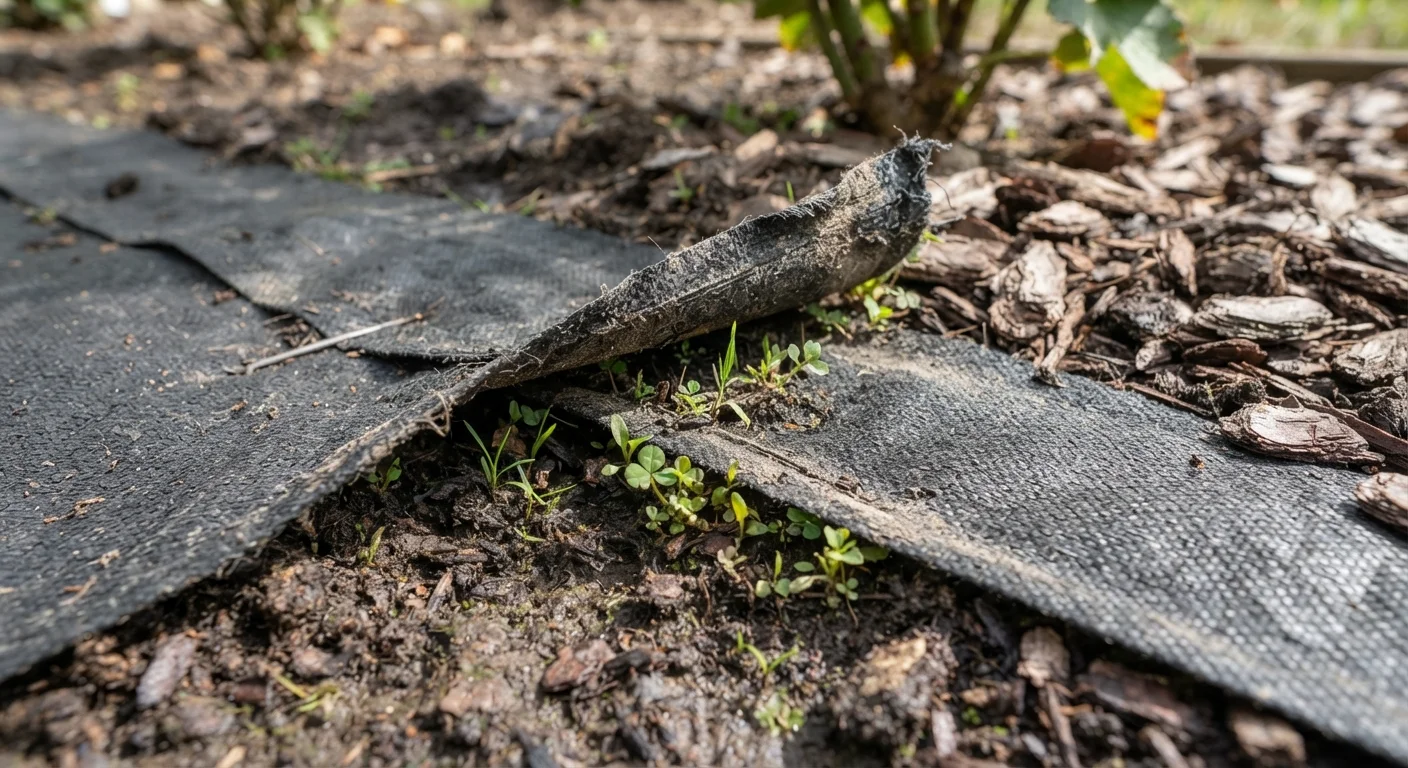
Your fabric doesn’t fail in the middle. It fails at the edges. Seams, borders, and planting holes are where landscape fabric problems start, because that’s where two pieces meet, where fabric meets soil, or where you cut a hole for a shrub. Any gap there is a welcome sign for weeds growing through landscape fabric.
The seam problem is a math problem. If you butted two strips together edge-to-edge instead of overlapping them, you’ve built a seam a weed can walk through. The industry minimum is a 6-inch overlap, though 8 to 12 inches is the safer bet for most yards. On slopes or in weed-heavy areas, bump that to a full 12 inches (30 cm), with the upper piece overlapping the lower one so rain doesn’t wash straight into the gap.
Edges need to disappear. An exposed edge gets lifted by wind, shifting soil, or settling mulch, and once it’s up, it’s an open door. Tuck edges into a shallow trench or pin them under pavers or edging material.
Planting holes are sneaky trouble spots. If the fabric around a hole doesn’t hug the plant’s base tightly, you get light, a gap, and a loose edge. That’s exactly what aggressive perennial weeds like nutsedge and thistle are looking for.
Fastening spacing matters more than people think. Stake seams and edges every 12 to 18 inches. Go tighter on windy sites, slopes, and borders where lawn meets bed, since that’s prime territory for lateral weed creep.
Fabric Degradation, Tearing and Aging Over Time
Fabric doesn’t fail overnight. It fails slowly, in the sun, until one day you notice a hole you swear wasn’t there last month. UV exposure is the real culprit, and it works by creating tiny transverse cracks across the polypropylene fibers, weakening their tensile strength from the inside out. The more UV energy hitting the fabric, the faster this breakdown happens, which is why unshaded fabric ages so much quicker than fabric tucked under 2–3 inches of mulch.
Lifespan varies wildly by material. Woven PP fabric typically lasts 5–15 years, often 8–12 in home gardens, especially heavier 85–110 gsm versions. Nonwoven fabric usually manages 1–5 years, sometimes as little as 1–3, because its fibers rely on tangling rather than a tight weave, so wear spreads fast once it starts.
Foot traffic and garden tools accelerate all of this. Stepping on fabric repeatedly stresses seams and crossing points, especially where UV has already made fibers brittle. Tool scrapes cut surface fibers, creating small nicks that tear wide open under tension. And once a hole exists, weeds don’t wait politely. Tears under 1 cm² start with scattered sprouts; anything over 10 cm² usually means weeds have already taken over that patch.
Perennial Weeds With Strong Roots Growing Under the Fabric
Some weeds don’t care what you put between them and the sun. Nutsedge is the classic offender—its tuber-and-rhizome chains spread through the top 0 to 40 cm of soil, though you often need to dig closer to 50 cm before you’ve cleared the reproductive parts. Cogongrass is even more theatrical: its rhizomes can push through heat and physical breakage to reach depths of 1.2 meters, though in heavy clay it usually stays closer to the surface, around 0.15 meters.
Pulling the visible leaves does nothing if the root, rhizome, or tuber survives underneath. These structures don’t need ideal conditions. They just need one weak point—a seam, a cut planting hole, a torn patch—and they’ll find it.
Skipping the “dig everything out first” step is one of the most expensive weed barrier installation mistakes you can make. If perennial roots are still living under your fabric when you install it, you haven’t blocked them. You’ve just given them a lid to grow toward, and once they’re through, they’re nearly impossible to pull out clean.
Getting Ahead of It Before You Ever Roll Out the Fabric
Before installation, dig out the target area to at least 40 cm, closer to 50 cm if nutsedge is present. Clear rocks, old roots, and debris so the fabric lies flat against soil, not against future regrowth. Overlap seams by a minimum of 15 cm, and press edges firmly into a trench rather than leaving them to curl.
For yards with a known perennial weed history, skip the lightweight rolls. Persistent-weed situations call for at least 3 oz fabric, ideally 5 oz or heavier, since standard landscape fabric often loses its effectiveness within about two years as pores clog and material grows brittle. Check the barrier every 6 to 24 months, looking specifically at edges, cut holes, and the fabric surface for early signs of root penetration or surface buildup. Catching it early is a lot easier than fighting a rhizome that’s already made itself at home.
Fabric Material Too Lightweight or Overly Porous
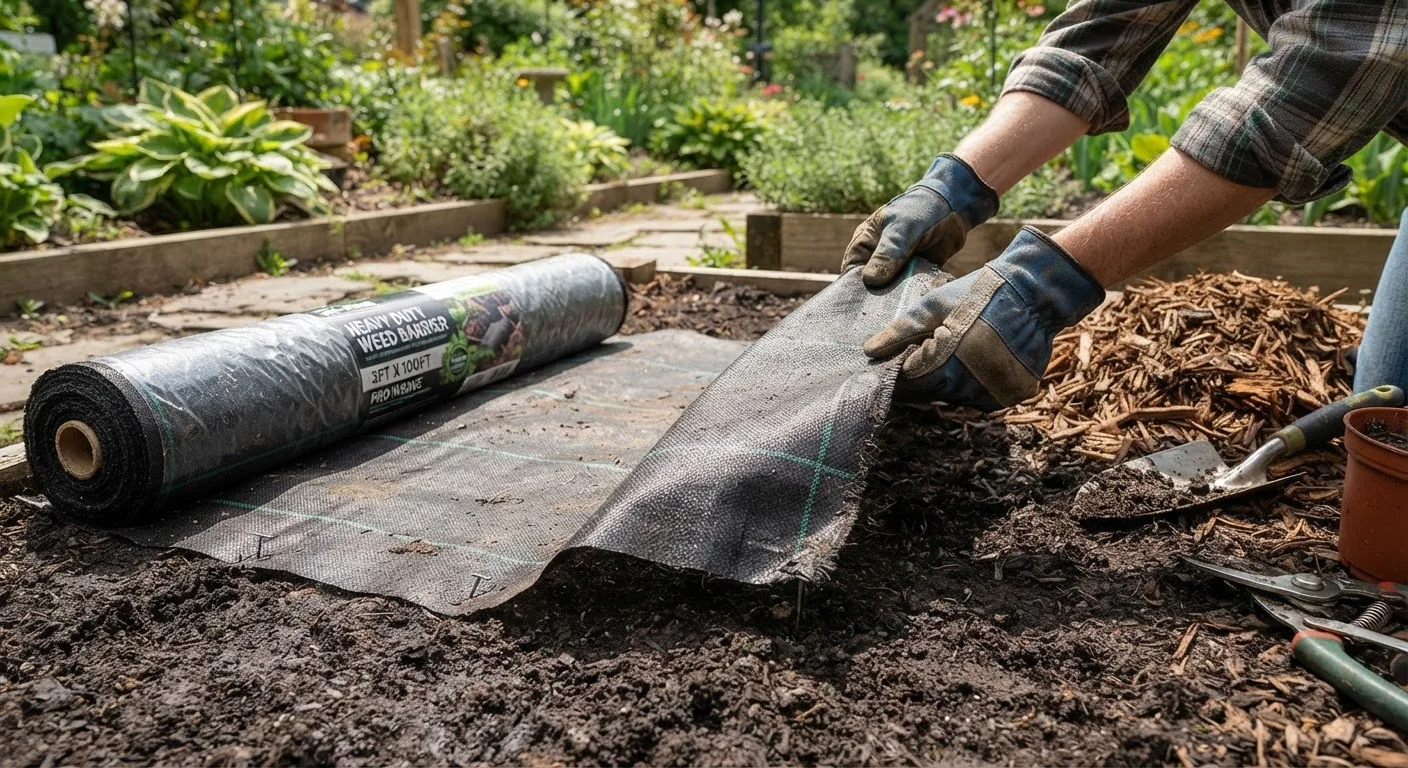
Not all landscape fabric is the same, and the tag rarely tells you that. Weight matters a lot more than most shoppers realize when they’re standing in the garden aisle comparing rolls that all look identical.
90 GSM fabric lets through about 18% of visible light. That’s plenty for shallow-rooted weeds like purslane to germinate right through the material. 140 GSM fabric blocks over 99.7% of light—a different level of weed suppression from a fabric that might feel slightly heavier in your hands.
The trade-off in permeable weed barrier design is that lighter, more porous fabric drains well and breathes, but also lets in light and lets roots wander. Heavier fabric blocks that light, at some cost to airflow.
For light garden bed use, 40–80 GSM works fine short-term. For anywhere with real weed pressure, you want 100–140 GSM minimum, ideally with 15 mil thickness and a 5-year UV rating.
Weed Barrier Fabric: How Long It Lasts
Landscape fabric buys you time. In ornamental beds, effectiveness fades after 3–4 years. Lightweight nonwoven versions last 1–3 years before they’re spent. Standard woven polypropylene lasts 3–5 years, while UV-stabilized woven PP can last 5–10 years under mulch. Under gravel or stone paths, protected from sun and seed buildup, the same fabric can last 15–20 years.
Fabric alone was never meant to be a forever fix. Paired with 3–6 inches of mulch, the best weed barrier fabric buys real time.
Top Installation Mistakes That Cause Early Failure
Four checkpoints decide whether your fabric holds for years or fails by midsummer: seams, edges, roots, and mulch depth. Skip two of them at once, and you’re not troubleshooting landscape fabric problems in year three—you’re troubleshooting them in week six.
The failure combo shows up predictably. Overlap under 6 inches, edges left loose, old roots still in the ground, mulch under 2 inches. Stack those together and you’ll see a straight line of weeds tracing the seam, edges curling up in the wind, and bare patches popping through within weeks, not seasons. That combination is behind most of the “I just installed this” complaints.
Staple spacing needs to match the risk zone, not a single blanket number. Windy corners and slopes want staples every 4–8 inches. Center-of-bed areas, away from edges and seams, can relax to every 2–3 feet. Hold back 1–2 extra inches of fabric at every edge for pinning. Trimming it flush leaves nothing to anchor.
Clear the ground before you roll anything out. Old turf, root balls, buried rhizomes—if they’re still down there, they’ll find the nearest cut hole or seam and use it as their exit, no matter how correctly you installed the best weed barrier fabric on top.
How to Install Weed Barrier Fabric for Long-Term Results
Installation order is the whole game. Level the ground first. Fasten the fabric second. Cover it third. Skip that sequence, or do it out of order, and you’re pre-loading next year’s weed problem before you’ve even finished the project.
Start with a clean, flat surface. Clear every root, rock, and old weed seed from the bed before the fabric ever touches soil. Sharp debris left underneath will eventually work its way up and puncture the barrier from below. Fill low spots and tamp them down. Fabric laid over uneven ground shifts, gaps, and fails early.
Match the fabric to the job, not the shelf price. Flower beds do fine with 60–100 GSM (roughly 2–3 oz/yd²), since drainage and easy cutting matter more than raw toughness there. Vegetable gardens want something in the 80–120 GSM range, especially if you replant often. Gravel paths, driveways, and any long-term, weight-bearing area need the heavy stuff: 120–180 GSM, or 3.5–4.5 oz/yd². Look for a UV rating tested to ASTM D4355. The better products hold onto at least 80% of their strength after 500 hours of exposure.
Fasten before you cover, and fasten generously. Space staples every 3–5 feet along edges and every 2–3 feet along seams, then double that density on windy corners and slopes. Overlap every seam by 6–12 inches minimum, leaning toward 12 on inclines where water runs downhill and tries to wash under the edge.
Finish with 2–3 inches of mulch, gravel, or bark, more if it’s a driveway or path carrying real weight. That top layer is part of the barrier system. It holds fabric down and blocks light from ever reaching the surface.
Maintenance Tips to Prevent Weeds From Returning
A weed barrier needs regular attention like a roof. Ignore it, and small problems become expensive ones.
Walk the bed every week and hand-pull any seedling poking through the mulch. Catch it while it’s just a sprout, not a root tangled into your fabric. Each month, top off thin mulch spots and check edges, staples, and seams for lifting. Every quarter, inspect for tears, sagging, or new soil buildup on the surface—early signs the fabric is starting to fail. Annually, refresh mulch to 2–3 inches (bump to 4–6 if weed pressure is heavy), or top gravel with 5–10 cm and sweep off accumulated dirt.
Patch tears immediately. Overlap the repair by 6–12 inches and pin it down. If roots have already grabbed the fabric, cut at the base instead of yanking; pulling tears the barrier and starts the whole cycle over.
Weed Barrier Fabric vs Alternatives: When Fabric Isn’t the Best Choice
Fabric does a great job on a permanent gravel path or a hardscape border you’ll never touch again. But it’s a poor fit for a bed you actually want to plant, amend, and change every season.
The cost math backs this up. A 100 sq ft fabric bed runs $50–$150 upfront (material alone is $0.10–$0.50/sq ft, installed closer to $0.50–$1.50/sq ft with pins and labor). Mulch-only starts at just $30–$60. Over five years, once you factor in cutting fabric for new plants and untangling roots, mulch beds often come out 30–40% cheaper—sometimes $200–$300 versus $300–$500 for fabric per 100 sq ft.
Mulch is better for living beds. Soil biology needs air and organic matter cycling through, something fabric blocks. Keep 3–4 inches of mulch on top and skip the barrier entirely.
Cheaper short-term options include cardboard under wood chips, five layers of newspaper, pine needles, or shredded leaves. They all biodegrade, cost next to nothing, and buy you a season of weed suppression while you decide what’s going in the ground permanently.
Conclusion
That frustrating patch of chickweed poking through your “weed-proof” fabric almost never means the product failed you. It means dust settled, seams gapped, or a corner got skipped during installation—the small, human mistakes that turn even the best weed barrier fabric into a weed nursery. Once you understand that weeds usually grow on the fabric, the fix is a checklist: tight seams, real landscape pins, a fabric weight that actually matches your project, and a little seasonal upkeep so debris never gets the chance to become topsoil. Do those things, and the barrier you already own will finally earn its keep. Grab the right pins, patch those gaps this weekend.


0 Comments